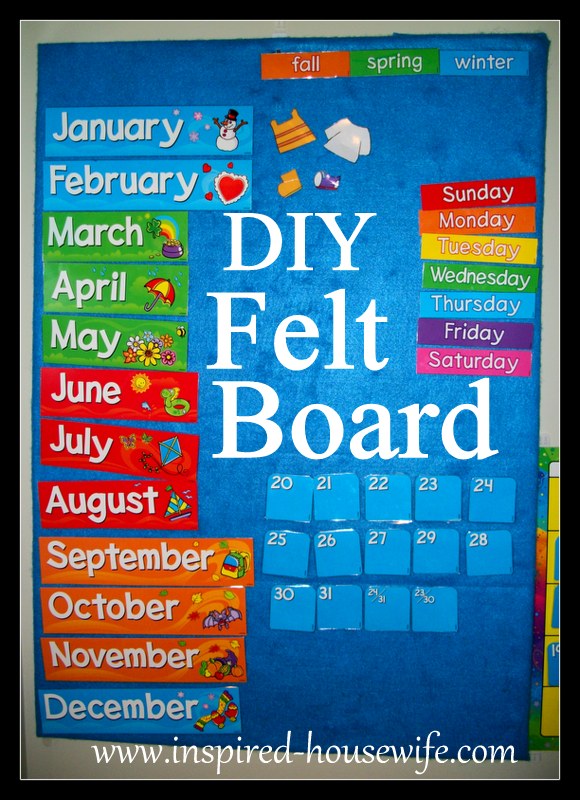
Two years ago I decided to pull my little boy Tristan out of pre-school because of ongoing problems in the classroom with another child. Even though my son was only three, I decided to start home schooling him. I bought a calendar set, and I laminated it because my son notoriously destroys everything in his path. One of Tristan’s therapists suggested I purchase a felt board to stick my extra unused calendar pieces. I looked around, but I could not find an inexpensive felt board I liked. I decided to make one myself. The one pictured is almost two years old, but it still does a great job.
DIY Felt Board Tutorial
Materials Needed:
One Tri-fold Congregated Display Board 28″ x 40″
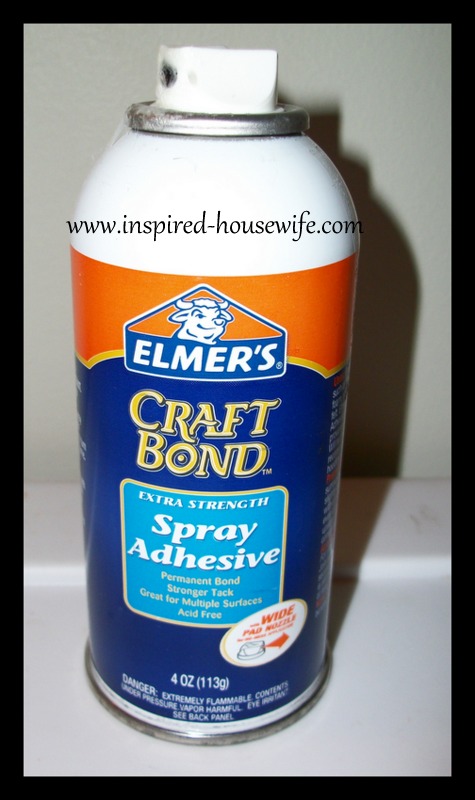
One Elmer’s Craft Bond 40z Spray Adhesive
Instructions:
** I made my felt board almost two years ago, but I took some photos. It is pretty easy to figure out what to do**
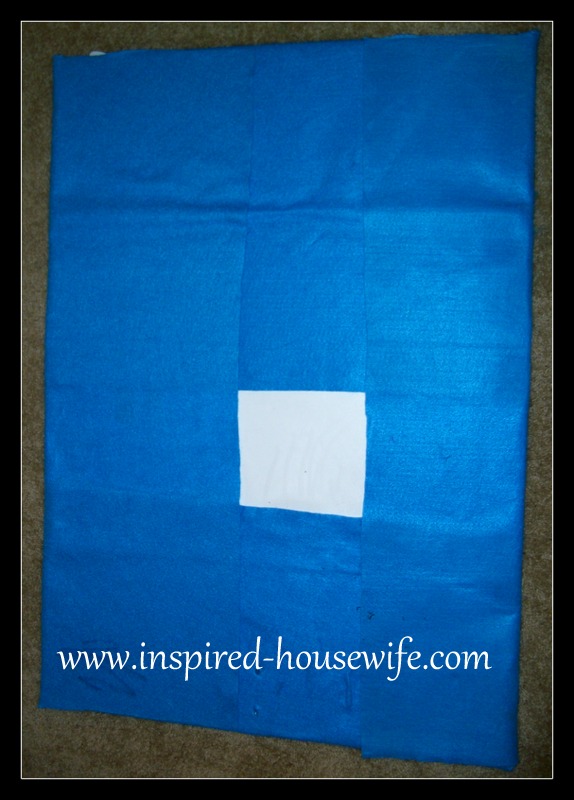
1. Take your felt fabric and lay it out flat onto a table or on the ground.
2. Lay your display board onto the fabric – it does not matter which side you spray, because you will not see the back of the board.
3. Take your spray adhesive and spray the entire board with the adhesive.
4. Carefully flip the board onto the fabric, and press it firm so it obtains a good stick to the felt.
5. Take the top and bottom felt fabric and spray it with adhesive and then pull it tight and press it firmly to the back of the display board.
6. Do the same to the sides and press firmly – you will have extra fabric at the corners of which you will need to lift the felt up, spray it, and press firmly again.
7. Let the board sit to dry for about 20 minutes. Then use a knife and put a small hole at the top from where you want to hang your board on a hook or nail.
8. Secure the felt board to the wall securely either by small hook and loop pieces or use the Command Damage Free Hanging poster strips.
My felt board works great and holds up well even with all the pulling on and off of my calendar school items. Felt boards can be great items for kids who love to play with felt doll and animal sets. It is wonderful for any play room or classroom.
XOXO
Amee